Knowledge Base
Getting Started with Requirements Tracking
Creating your first project
Every requirement, ITP item, programme activity, BOM item, and trace link in ReqTwin lives inside a project. Your organization can hold many projects; anyone you invite to your organization gets access to all of them, based on their org role, rather than a separate per-project permissions table.
To create a project, choose New project on the My Projects page and give it a name that matches the contract or facility it tracks. You can rename it later without breaking any links.
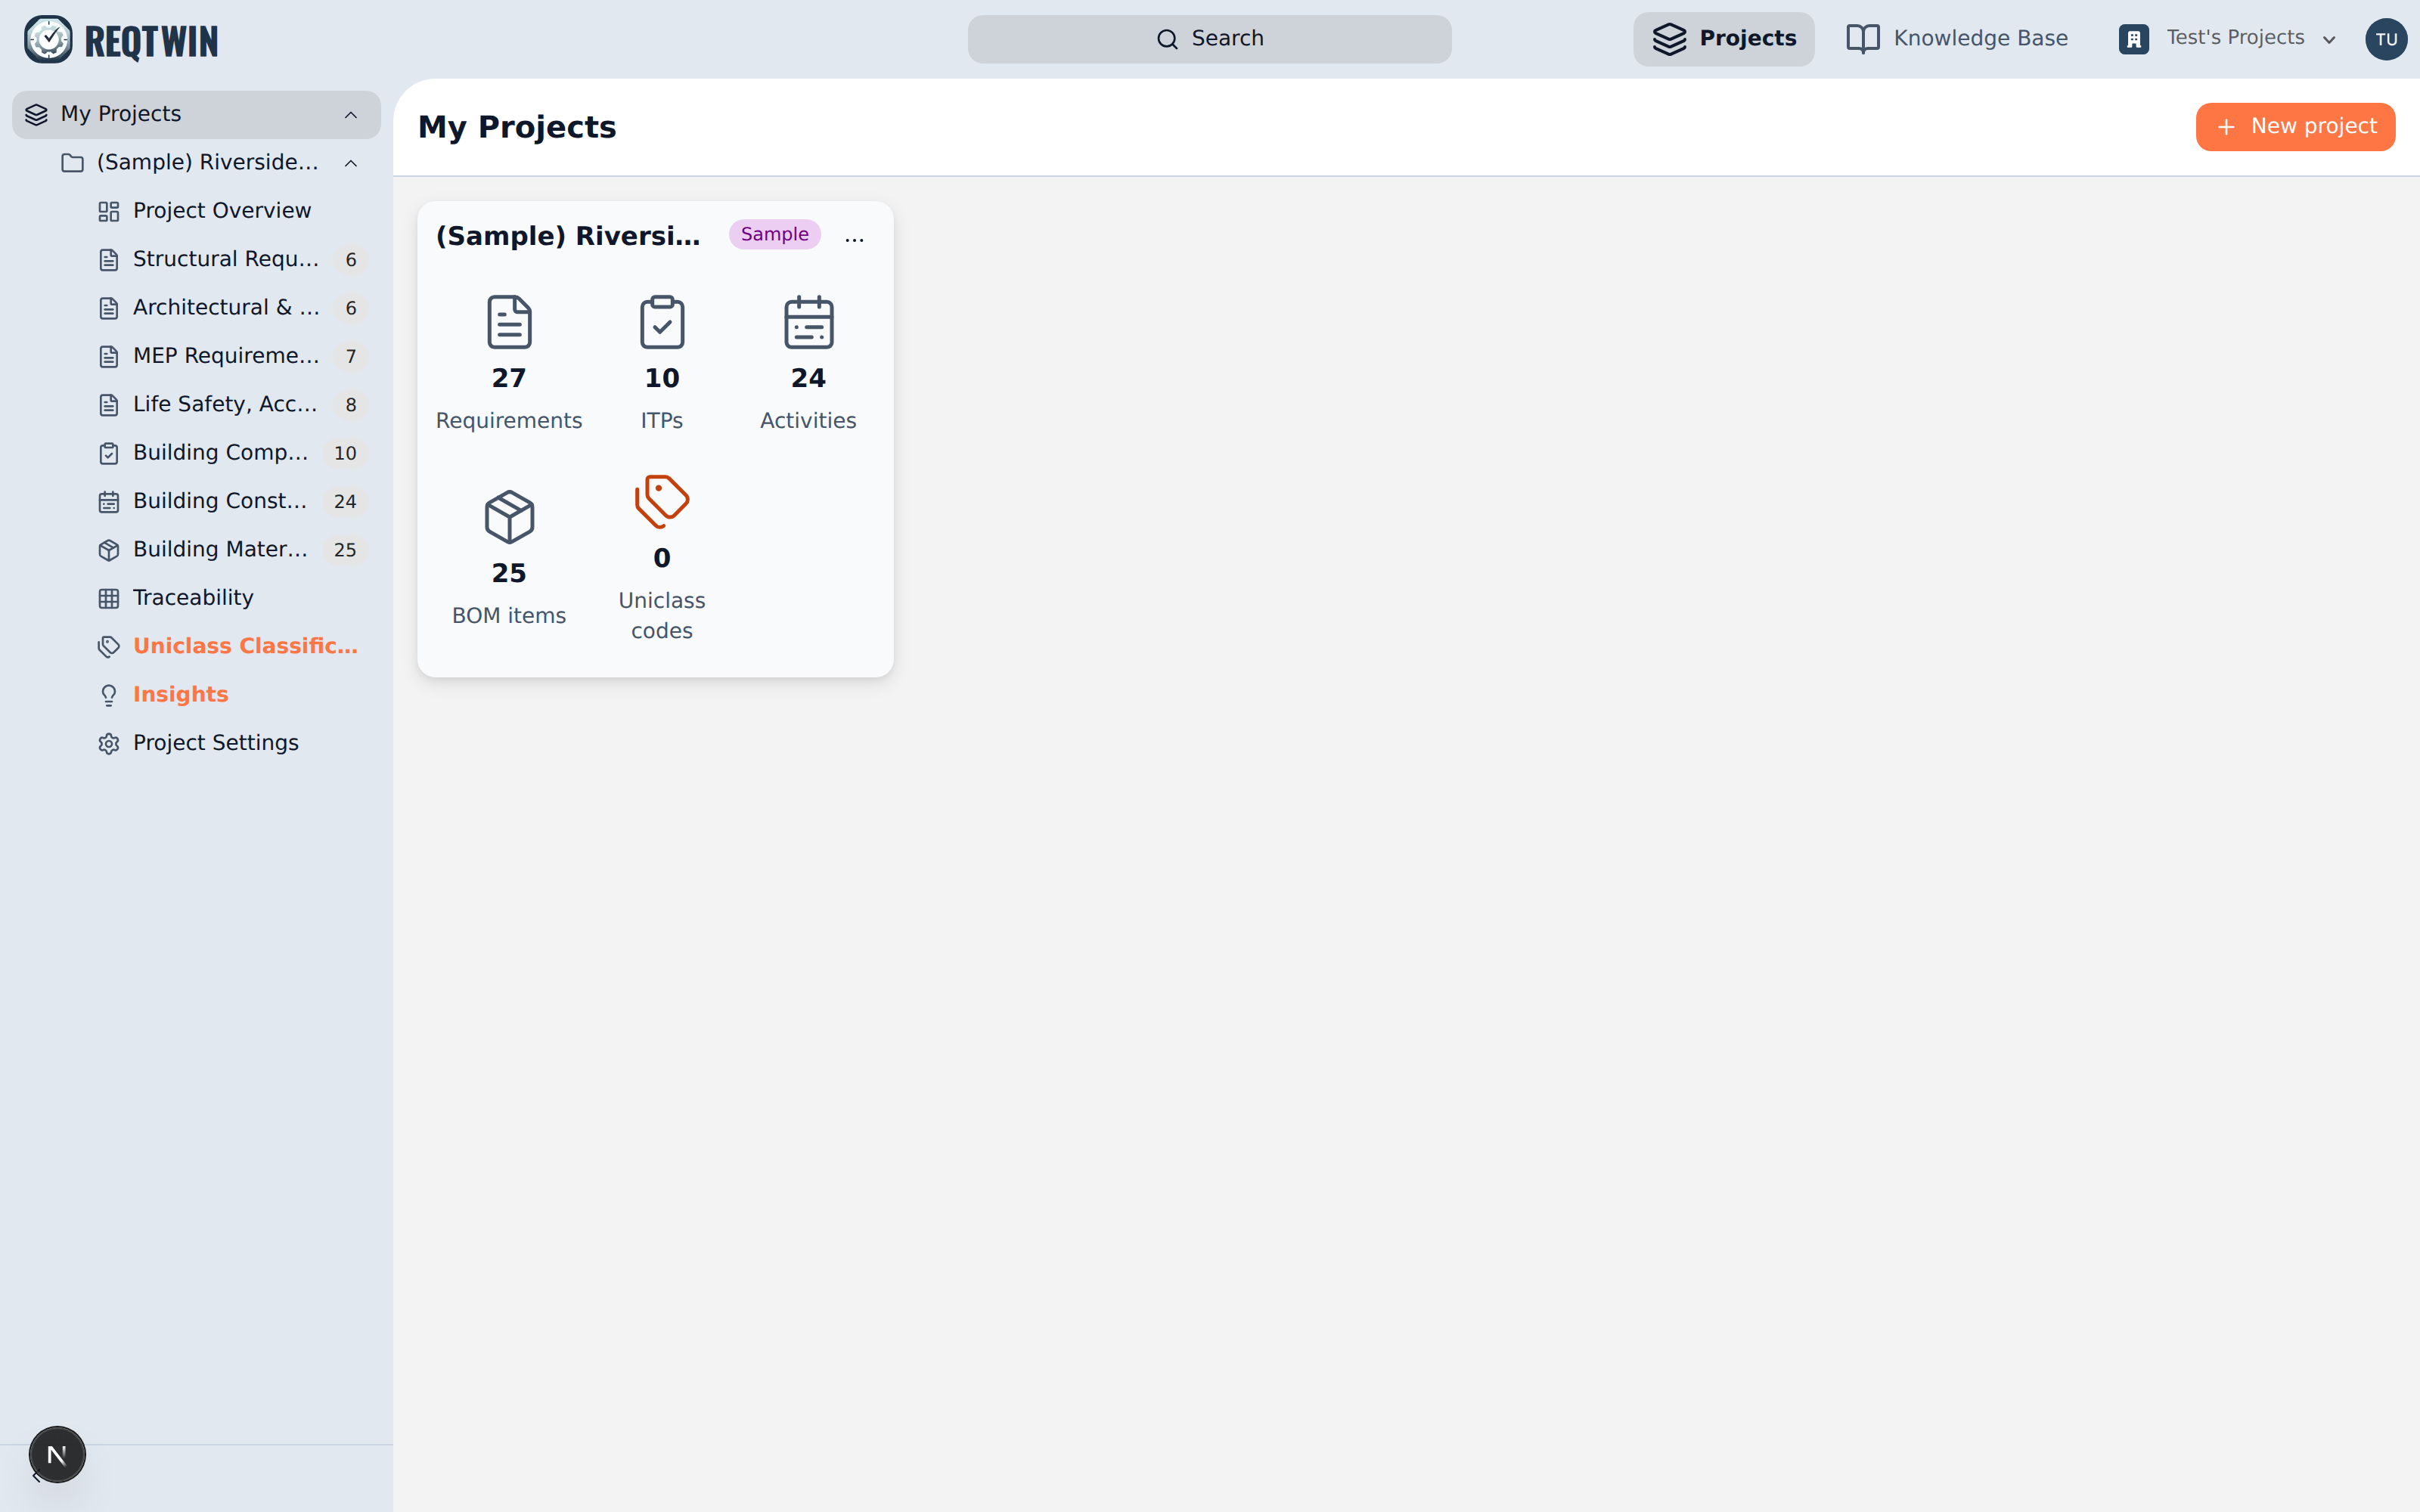
The My Projects page. Every account starts with a sample project to explore.
New accounts start with a sample project, seeded across all five document types, so you can try every feature before importing your own data. It's a normal project; delete it whenever it has served its purpose.
Naming and numbering conventions
Pick a section numbering scheme before you import your first document. Switching schemes after requirements are linked to ITP items is disruptive. Most teams use the same outline numbers as their source specification (1, 1.1, 1.1.2) so reviewers can cross-reference the original PDF.
Keep numbering monotonic within a document; gaps are fine, out-of-order numbers are not.
Headings get a number, plain informational rows usually don't.
Requirements never carry their own outline number. They belong to the nearest heading above them.
Headings can nest to any depth (matching a multi-level source specification like 1, 1.1, 1.1.2), and you don't have to get the nesting right on the first import. Each register's Edit sections button (Edit WBS on Programme) reorganizes headings afterward: drag one onto another to nest it, and the outline numbers update live as you go. See "Nesting Sections with the Section Editor" for the full workflow.
Finding your way around
The search bar in the top nav (or Ctrl+K / Cmd+K from anywhere) opens a command palette that searches every requirement, ITP item, programme activity, and BOM item across your projects, plus these Knowledge Base articles. Selecting a result jumps straight to that row's register.
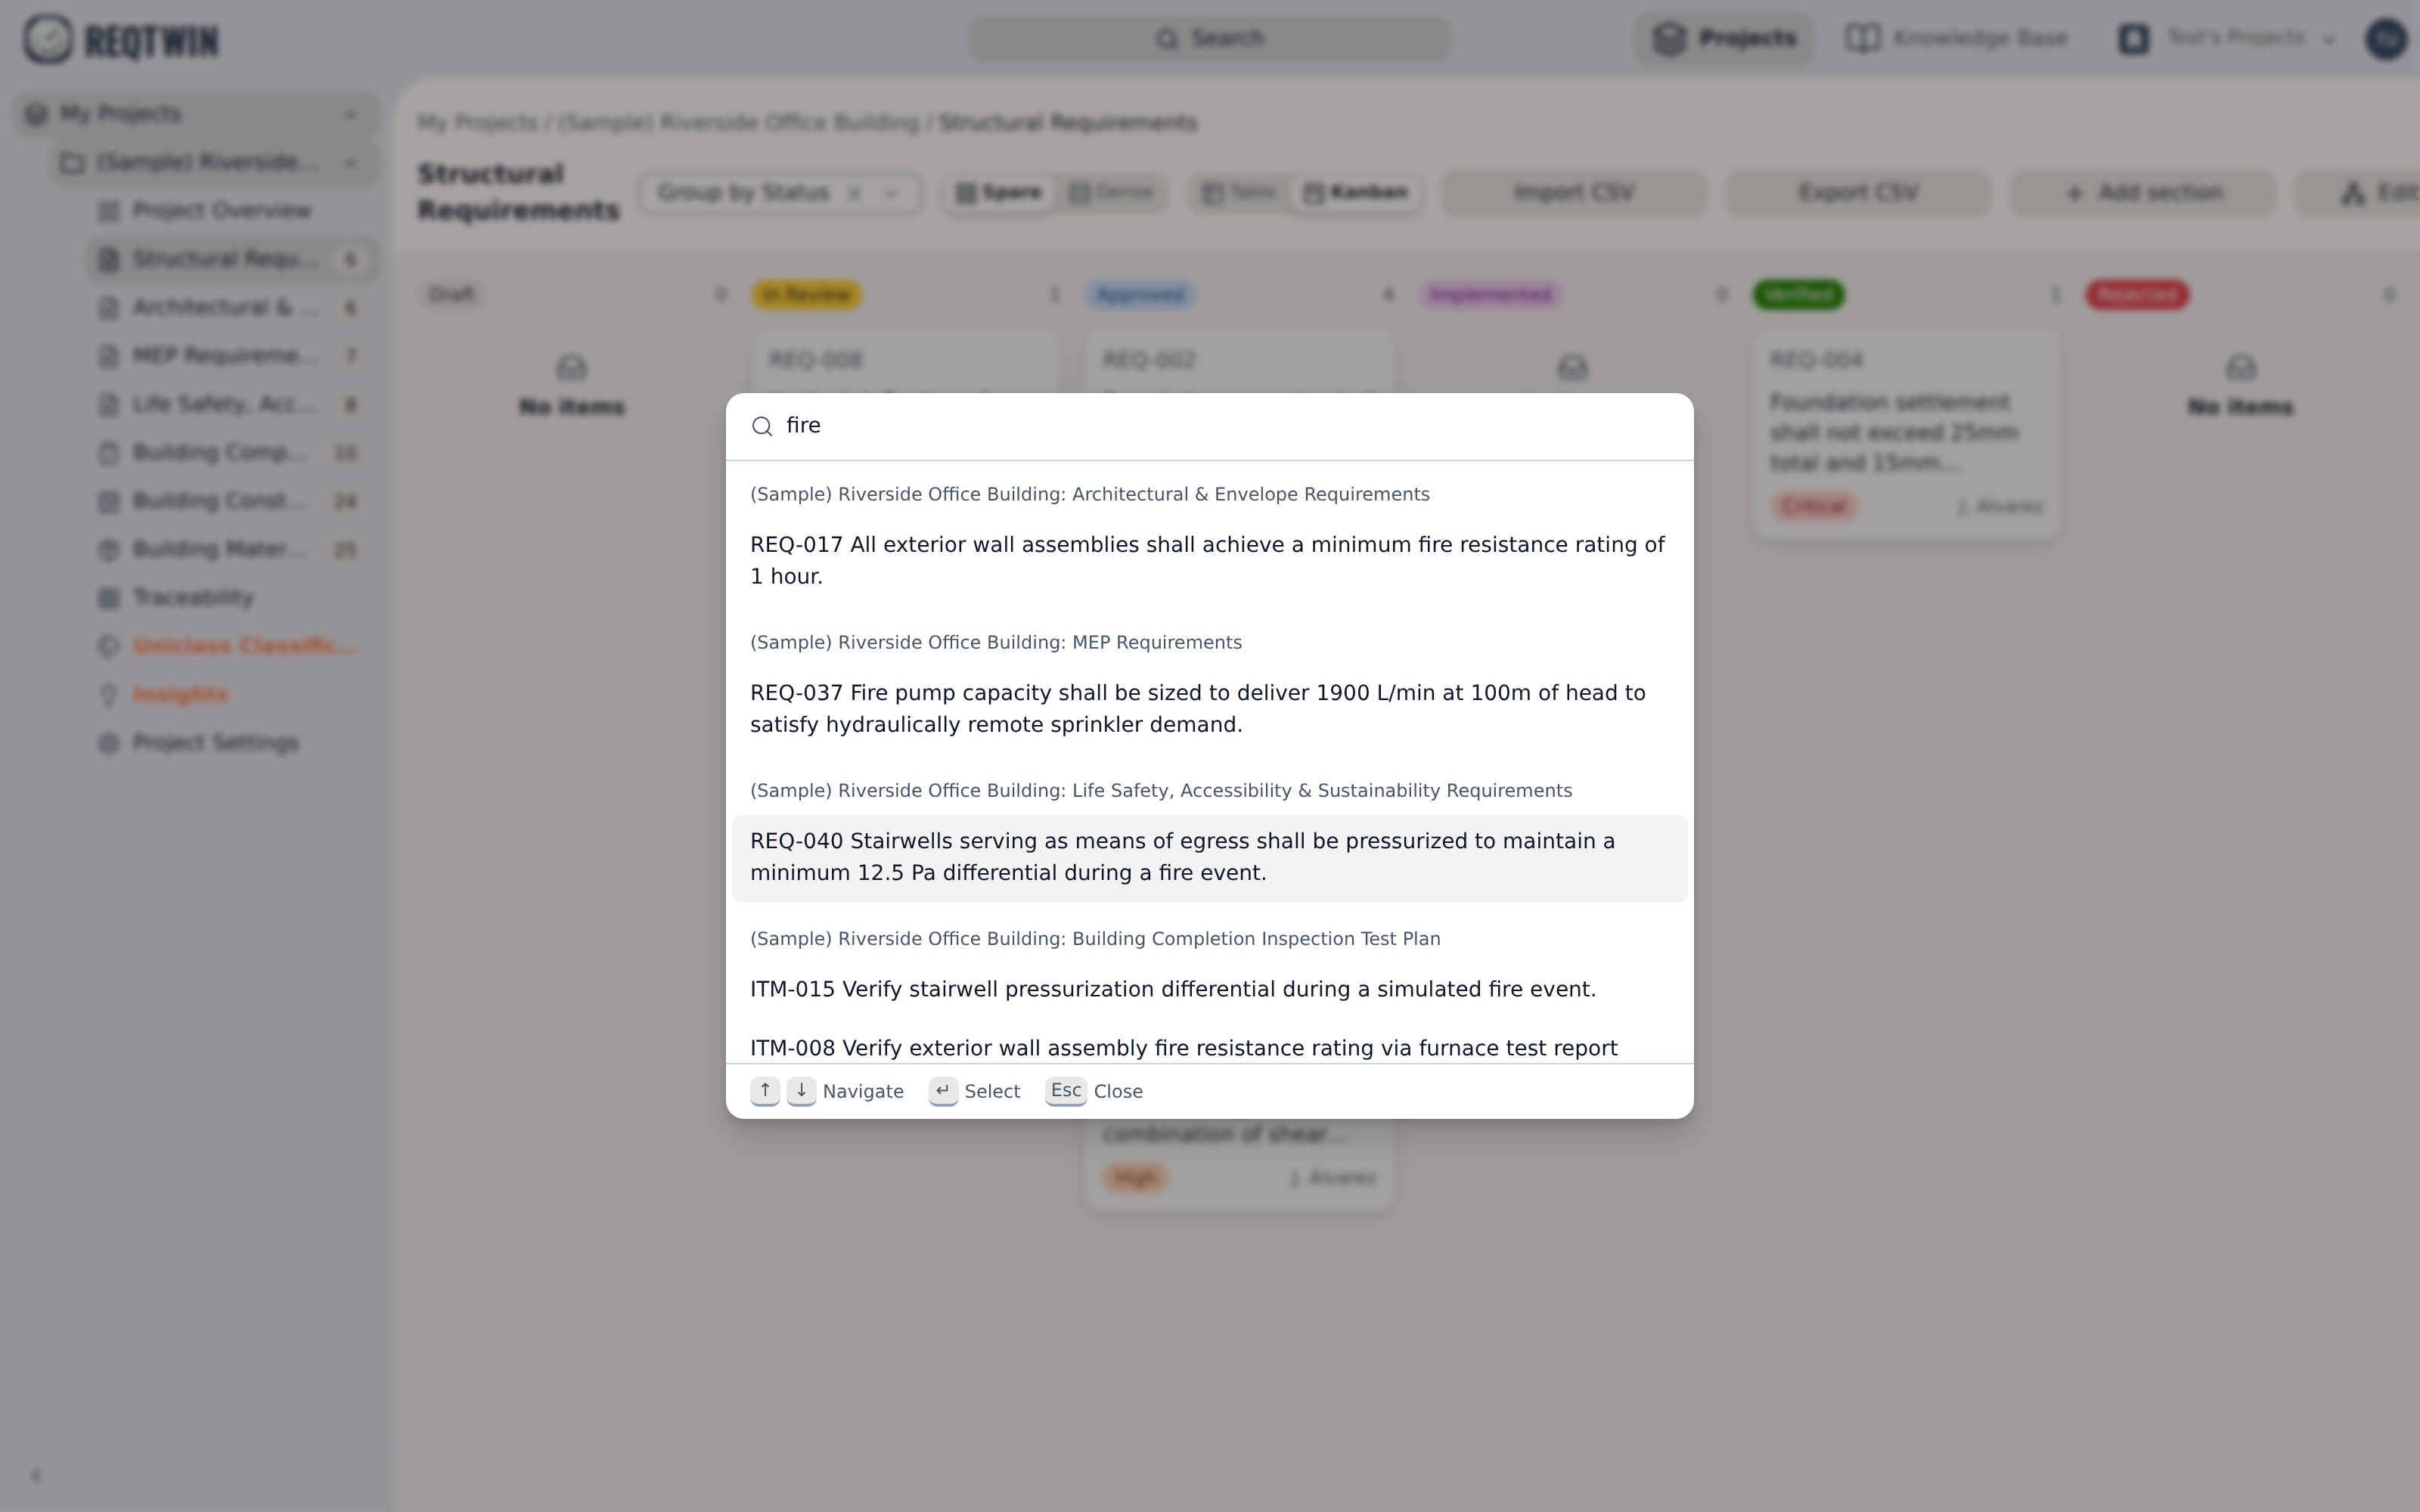
The command palette searches every row in every project, from anywhere in the app.
Inviting your team
Invite teammates from the Team page in the sidebar. This requires the Team plan (the single-user Professional plan has no way to add members). Each invite carries a role (Admin or Member), and that role takes effect immediately. There's no separate step to sync it.
Roles and permissions
| Role | Can view | Can edit | Can manage members |
|---|---|---|---|
| Member | Yes | Depends on access level | No |
| Admin | Yes | Yes | Yes |
New members start read-only. Set an individual member to Editor from the Access tab on the Team page (visible to Admins only) to let them create and edit requirements, ITP items, programme activities, and BOM items. Switch them back to Viewer to revoke write access without removing them from the organization.